Adobe InDesign is a desktop publishing and typesetting software application produced by Adobe Systems. It can be used to create works such as posters, flyers, brochures, magazines, newspapers, presentations, books and e-books. When you collaborate with Adobe Digital Publishing, Indesign enables graphic designers and production artists to publish content suitable for tablet devices. It also supports export to EPUB and SWF formats to create electronic books and other digital publications. In short, Adobe Indesign enables users to create desktop publishing projects easily. It offers a variety of templates that you can adjust accordingly.
What is a brochure?
A brochure is a widely used marketing printed tool by most businesses. Also referred to as a pamphlet, a type of leaflet. It is used in advertising mainly to announce a new opening or soft launching, price promotions, introduce a new product or service, and the like.
Brochures are often handed out personally in malls and other public places like train and bus stations. It can also be mailed or placed in brochure racks in establishments.
Here is how you can make a brochure
Step 1: Download InDesign
You must have InDesign software on your desktop or laptop. If you do not have one yet, download it from the web. Once you have it, double-click the icon and it will open to start your project.
Step 2: Start a new project
On the right side of the window, Create New > From template. It will open to Contents > Brochures.

Step 3: Choose a desired template
Tick on the samples provided and you will find the details at the right side of the window. Choose the template that has the number of pages you want in your brochure. If you have chosen the standard size of 8” x 11”, note that the pages are split into two. As you scroll down, the next pages are split as well. The template will have temporary words as guidelines. Double-click the boxes to edit.
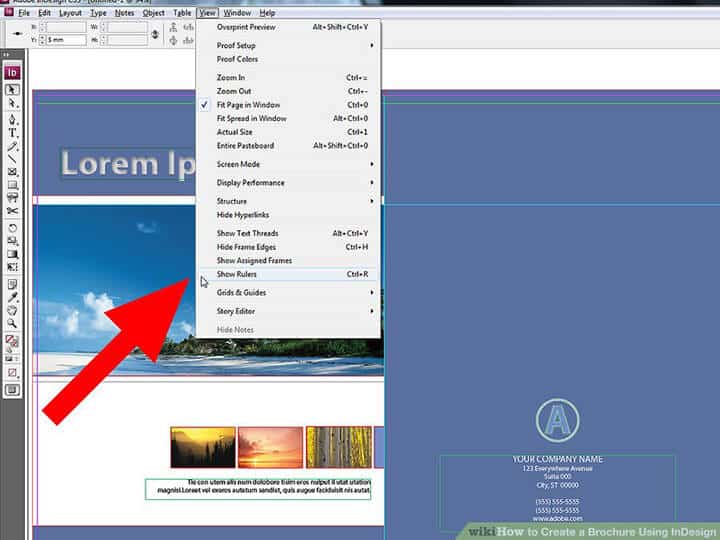
Tip: Use View Options to add frames and guides while working on your project. This will make your editing easier.
Step 4: Customize the template
To change the font size and style, go to the right pane of the window, in the toolbar choose Paragraph Styles. Edit and click anywhere outside the box to accept the changes.
Step 5: Add photos
In inserting photos, click the photo you wish to replace, delete it and replace it with your chosen photo. To delete, press Delete on your keyboard and Ctrl + V to paste the copied picture from the web. To choose photos from the library, in the menu bar, File > Place or Ctrl + D. It will open to your library. You may place or simply drag and drop. Resize accordingly. Change the rest of the text boxes and images. Continue to repeat the process until you complete your project.

Step 6: Check your brochure
Once your brochure is done, double-check your work if everything is in place. Look for some errors, check the spelling and grammar, and make sure that margins and spacing are enough.
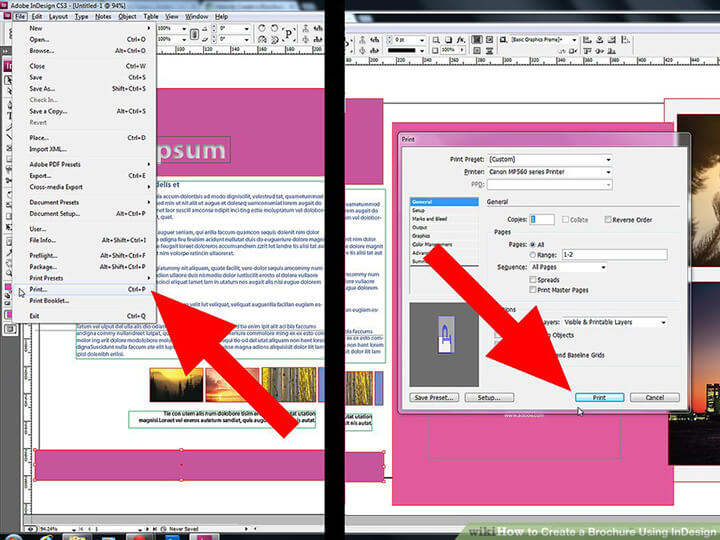
Step 7: Print your brochure
To print, simply go to File > Print. It will open a window of Print options. Check the printer if it has the type of paper you have worked on. Tick Print. Go to your printer, get the printed sheet, and reinsert it into your printer. Repeat the process with the rest of your copies.
TIP: Do some test page printing to minimize errors.
Step 8: Fold your brochure
Fold the brochure in half lengthwise. One paper should have 4 pages. If you want a fresh new design, you may start with Blank and fill in the pages as necessary.

Conclusion
Now that we have walked you through the whole process of making a brochure with InDesign, it’s time to get started! If you want to create a digital version of your PDF brochure, you can have a trial of Flip PDF Plus digital brochure software. Simply import a PDF document from your computer, this amazing digital publishing tool will convert it into an interactive page-flipping online brochure.
Convert Your PDF to A Flipbook Easily