How do you keep your photos nowadays? Most people prefer to store photos digitally. However, we can store them creatively in photo books, canvas, collage, scrapbooks, etc. It is a much more intimate way to hold on to your memories. If you have lots of photos and cannot seem to minimize your favorite ones, the best way to keep your pictures within reach is to create your own book.
What is Blurb?
Blurb is a self-publishing application that enables users to create a custom-made photo book. You can easily design and arrange it according to your preference with a professional-quality look. It can be created via an online tool, like Bookwright and Adobe In-Design.
Features of A Blurb Photo Book
- Vibrant and versatile
- Flexible creation tools
- Sharing and selling options
- Wide selection of formats and book sizes
- Quality printout papers
- Professional cover types
- Wide selection of book templates

Steps in Creating A Book with Blurb
The best thing to do before you start is to sort all your photos. It may be per occasion or per year. You will appreciate school activities, out-of-the-country travels, events at work, or any milestones when you can see them beautifully printed out. Every event has a ready template. You can easily choose or make your own. You can finish in an hour, less than or more than. Blurb has a wide selection – seeing those all will consume your time.
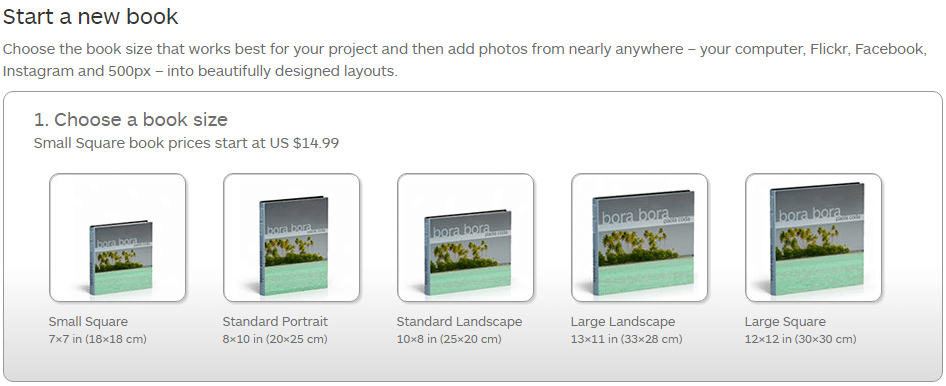
1. Start a new book
Choose the platform that works best for you then add photos from social media as such – Facebook, Twitter, Instagram, Flicker, or you may use your archived photos from your external drive. More photos mean a larger book. Price varies depending on the size.
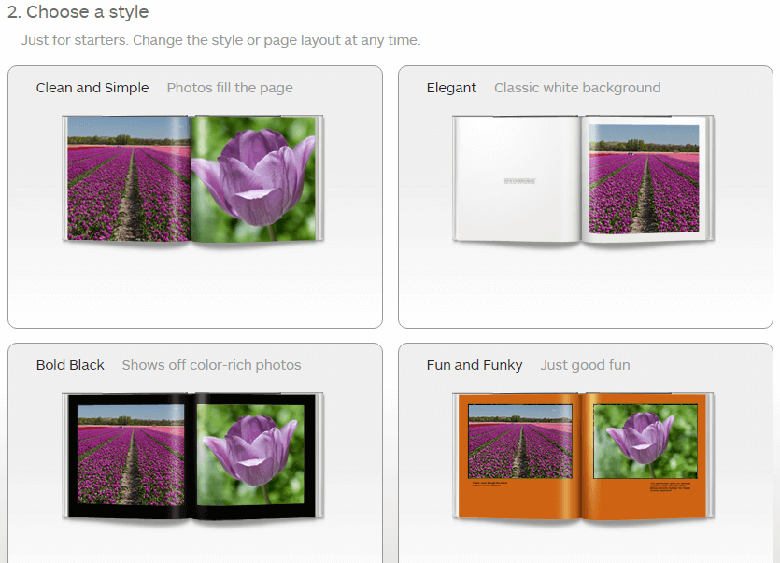
2. Choose a style
There are four options to choose from. You may choose one design consistently or make different layouts per book. Anyway, you will surely create more than one book.
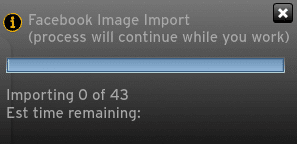
3. Blurb bookify
The process will take approximately 5 minutes to complete.
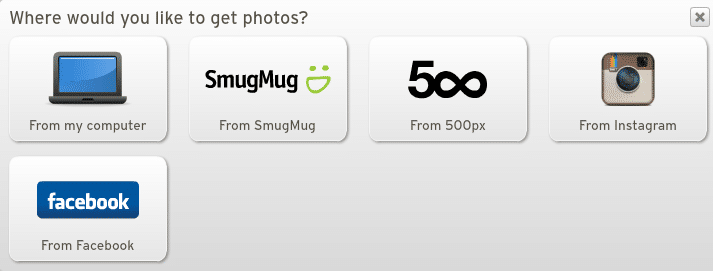
4. Choose a source and select photos
You can choose photos from almost anywhere! We save photos per album on Facebook. You may start from there as those were carefully picked already.
Example:
If you want to import your photos on Facebook, simply go to your Photos or Albums. It will take only about 5 minutes. Many photos mean more time for importing.
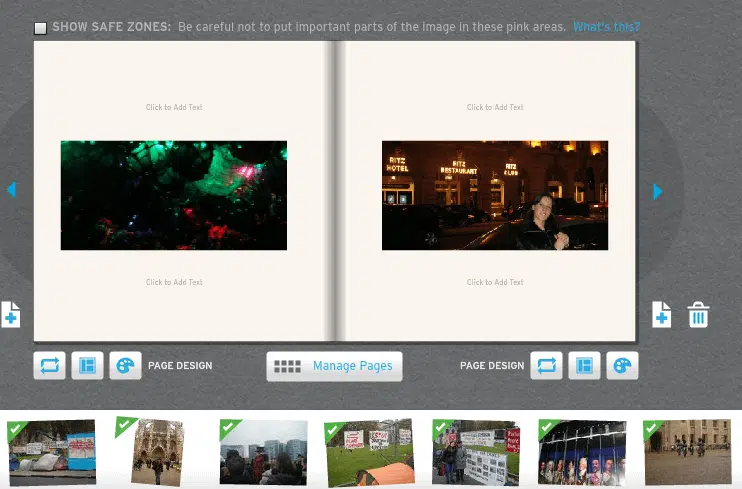
5. Edit the book
You can style and edit your book. Change the frame, layout, and design, and arrange them to your liking. Blurb has a lot to choose from.
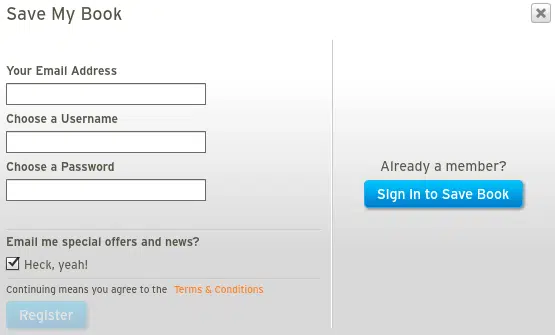
6. Sign in to save your book
In order to save your book, you need to Sign In. For new users, you need to Register. If you want to know more about Special Offers and Discounts, tick the “Email me special offers and news?” (Heck Yeah!) button.
7. Order your book
Upon accomplishing all customization, you can now proceed with ordering your book. If you made a book for selling and distribution, tick the Sell Your Book option.

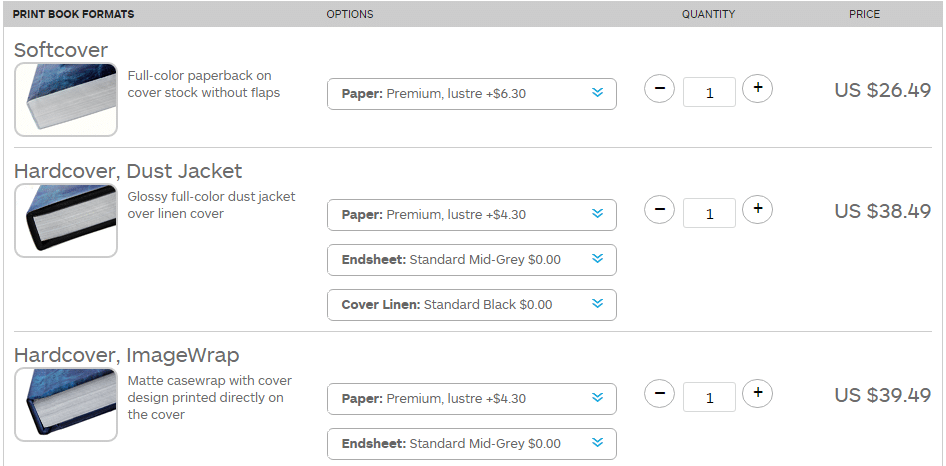
8. Choose your book format
Upon hitting the order button, you will be directed to the book format selection. You may choose among 3 options – Softcover, Hardcover with Dust Jacket, and Hardcover with ImageWrap. Decide the best option for you or for your family.
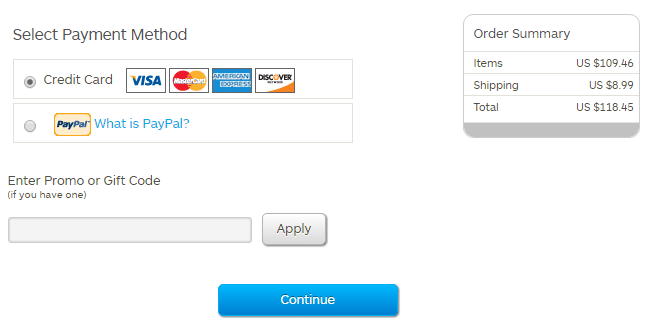
9. Checkout And Payment
Once completed, check out then fill in shipping details. If you have a Promo or Gift Code, specify it. Choose your preferred payment method via Credit Card or PayPal. You are now ready to buy your book.
Create an Interactive Book Now
Hope this quick guide helps! Nowadays, it is easier to create your own book and self-publishing, especially with software like Blurb. If you are looking for an alternative to Blurb for ebook creation, get a free trial of Flip PDF Plus Pro. The top-tier software converts PDFs to animated flipbooks that are packed with various multimedia elements, such as images, videos, and audio. The created ebooks can be shared via emails and through social media platforms. In addition, you are allowed to embed them onto websites by pasting their embed code. It’s that simple. Try it out to let your creativity shine!
Convert Your PDF to A Flipbook Easily