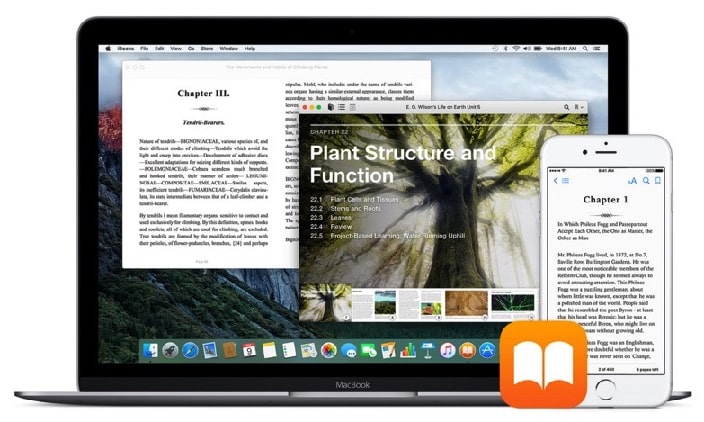
People tend to generalize that leaving Windows for Mac OS feels like first day of school. Think again. Leave your comfort zone and with a few swipes and taps, you can also create a book in Mac.
iBook Alternative: Flip PDF Digital Flipbook Maker
Best Desktop Digital Publishing Software for PDF Magazines/Brochures
It is a pre-built page setting of book-making in Mac. You can conveniently create, edit layout, fold, and print it beautifully in a wide variety of Mac publishing software tools.
Creating booklet is one of the first that Mac was renowned to do. Some known fundamentals of Mac are as follows: PostScript, QuarkXPress, Pagemaker, Adobe InDesign.
Uses of Books
Mac OS provides a lot of shortcuts and fewer taps than of Windows. You can create the following instantly:
To make creative project, plan the contents of your book. You can download some software available in Mac OS to help you out in preparing. This enables the users to map out your project and see how things will go, how long will it take and foresee events that may overlap.
?
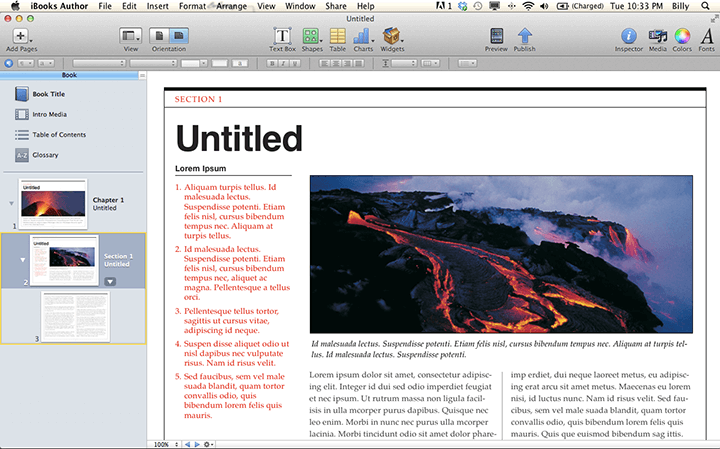
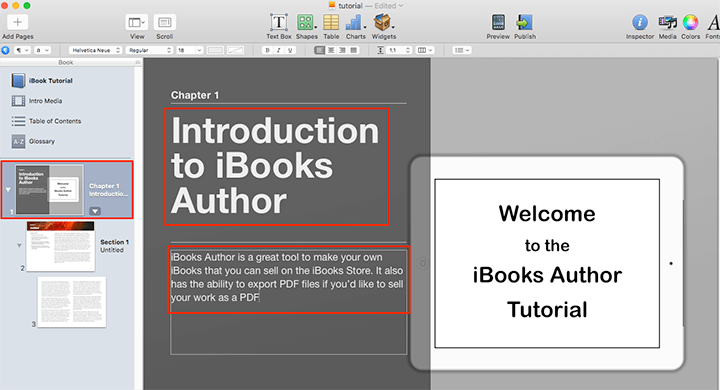
2. Template
Staring at a blank page means you have to start from scratch. Worry no more as Mac has provided us with templates to easily manage our layout. Think of a theme that best fits your project and compile all possible images that you wish to use. A lot of different categories are available for usage.
3. Layout
For booklet, we are going to choose Catalog. Before starting, consider what size it will be. Size matter as it varies whether you are going to make a PDF or print it. If you will print it, ensure that the layout matches the paper size. Note that the size of your booklet will be in half when printed.
4. Photos
Mac has a huge library of photos to choose from if you do not have any available one. You can use your own photos, feel free to do so.
Select the image on the template that you wish to replace, click the picture icon in the left sidebar. From there, click Photos to add a photo from that app or Custom Folder to open a folder in your Mac. Once you have decided on the photo, drag it onto the one you selected and it will fill the image in the box.
5. Text
There is an existing text to show how your text will look like. Click the text box on the template, type or paste your contents that you wish to add. To format and edit, find the toolbar at the top of the window, and choose Text Styles to view the pre-created fonts. If you want a simple one, click the Text button and choose the font, color and size. Always keep in mind that your font can be legibly read.
In adding more text anywhere in the page, find the above Editing Tools and choose Text Box.
6. Pages
The template will always have limited pages. In adding, click “+” to the left of the page thumbnails bar above the document. Expect the new page will be blank. Copy the elements from the previous and start editing.
Templates pages usually have 2 layers window that can be seen at the bottom of the right-hand sidebar. In copying elements, remember to copy from both layers in turn. Add more pages as needed.
7. Printing
Ensure to apply enough spaces in margins. Follow the printer options then print. Bind it anyway you like it.
Looking to elevate your video content with visually appealing animations? Step into the future of AI, where AI animation generators revolutionize how we create eye-catching
An employee handbook sets the stage for company growth and employee alignment. New employees should be introduced to the essential document on their first day.